
Composting is a great way to reduce waste and improve the health of your garden. By creating your own compost, you can turn your kitchen scraps and yard waste into a rich, nutrient-dense soil amendment that will help your plants thrive. In this article, we will go over the basics of composting and provide you with step-by-step instructions on how to make compost for your garden.
Table of Contents
What is Composting?
Composting is the process of breaking down organic materials into a rich, soil-like substance. This is done through the use of microorganisms, such as bacteria and fungi, which break down the organic matter into simpler compounds. Composting is a natural process that occurs in nature, but it can also be done on a small scale in your own backyard. It’s one of the practices of regenerative agriculture that can be used to improve soil health.
Why Compost?
Composting has many benefits, both for the environment and for your garden. By composting, you can:
- Reduce waste: Composting diverts organic materials from landfills, where they would otherwise contribute to greenhouse gas emissions.
- Improve soil health: Compost adds nutrients to soil and improves soil structure, allowing plants to grow stronger and healthier.
- Save money: By making your own compost, you can save money on fertilizers and soil amendments.

How to Make Compost
Making compost is easy and can be done with a few simple steps. Here’s how to get started:
Step 1: Choose a Composting Method
There are several different types of composting methods, each with its own advantages and considerations. Here are some of the most common types of composting:
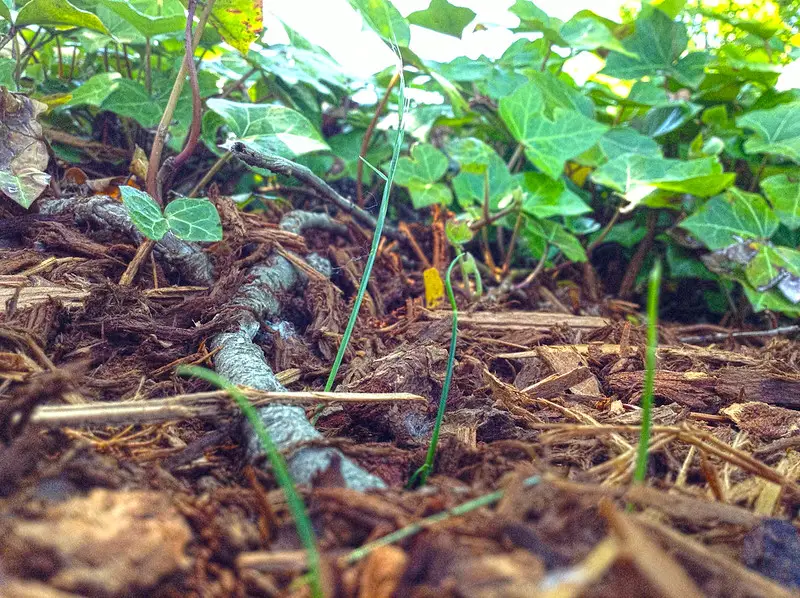
Backyard Composting: Backyard composting is a simple and popular method that can be done in a small-scale setting. It involves layering organic materials like kitchen scraps (vegetable and fruit peels, coffee grounds, eggshells) and yard waste (grass clippings, leaves) in a compost bin or pile. The materials are periodically turned or mixed to provide oxygen and facilitate decomposition.
Vermicomposting: Vermicomposting uses worms to break down organic waste materials. Red worms, such as Eisenia fetida, are commonly used for this method. The worms consume the organic matter, and their castings (worm poop) become nutrient-rich compost. Vermicomposting can be done indoors or outdoors in specialized worm bins.
Bokashi Composting: Bokashi composting is an anaerobic fermentation process that relies on the use of beneficial microorganisms to break down organic matter. It involves fermenting food waste (including meat, dairy, and cooked foods) with the help of a mix of microorganisms known as “bokashi bran.” The fermented material is then buried in soil or added to a traditional compost bin to complete the decomposition process.
Trench Composting: Trench composting involves digging a trench or pit in the ground and filling it with organic waste materials. The trench is then covered with soil, allowing the waste to decompose directly in the ground. This method is particularly useful for disposing of large volumes of organic waste and can also help improve soil structure.
Windrow Composting: Windrow composting is a large-scale composting method commonly used by commercial composting facilities. It involves creating long, narrow piles of organic waste materials, often turned with machinery to ensure proper aeration and decomposition. Windrow composting requires careful monitoring of temperature, moisture, and carbon-to-nitrogen ratio to promote efficient decomposition.
Green Cone Composting: The green cone system is a type of composting designed specifically for food waste. It consists of a green cone-shaped container that is partially buried in the ground. The cone has a basket at the bottom, which allows food waste to be deposited. The waste is broken down by microorganisms and digested by insects, such as black soldier fly larvae, which are attracted to the cone.
The choice of composting method depends on factors such as available space, the type and quantity of organic waste, desired composting speed, and personal preferences.
For the purposes of this article, we will focus on backyard composting.
Step 2: Choose a Location
Choose a location for your compost pile that is:
- Convenient to access: You will want to be able to easily add materials to the pile and turn it over.
- Well-drained: You don’t want your compost pile to be sitting in water, as this can slow down the composting process.
- Partially shaded: Too much sun can dry out your compost pile, while too much shade can slow down the decomposition process.
Step 3: Collect Organic Materials
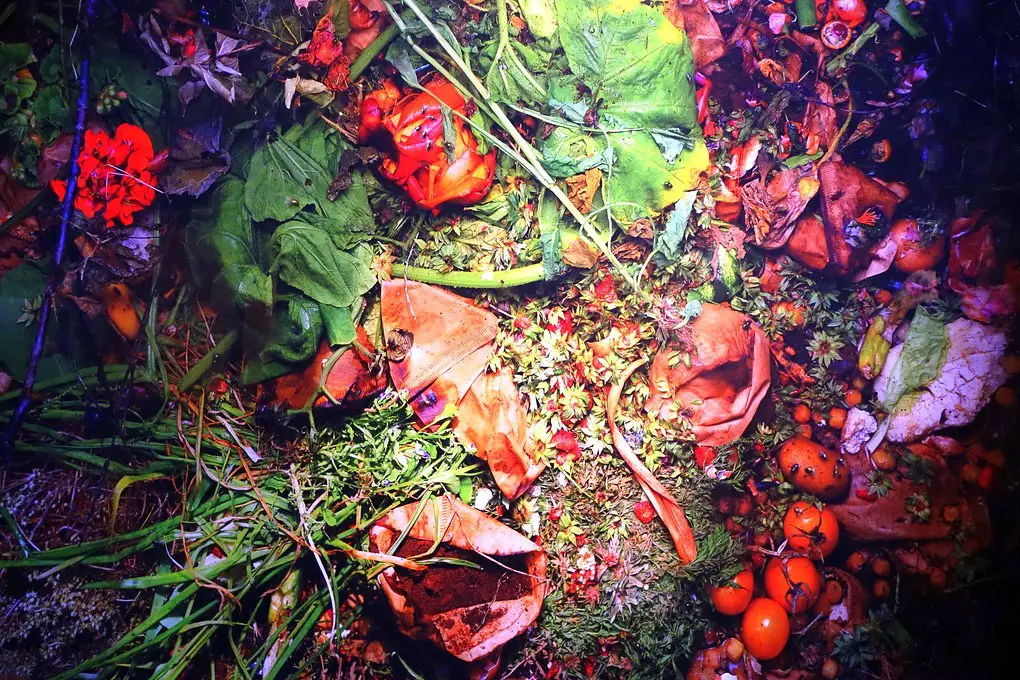
Collect organic materials from your kitchen and yard to add to your compost pile. Here are the best materials for composting and some you might want to avoid.
Best Materials for Composting:
- Fruit and Vegetable Scraps: These provide essential nutrients to your compost pile.
- Coffee Grounds: Rich in nitrogen, coffee grounds add a beneficial boost.
- Eggshells (crushed): Despite taking longer to break down, they contribute calcium to the compost.
- Leaves: Dried leaves are excellent sources of carbon, balancing the compost.
- Grass Clippings: Fresh grass clippings add nitrogen and moisture.
- Yard Trimmings: Small branches, shrub prunings, and plant trimmings can go in.
- Cardboard and Newspaper (shredded): These are good sources of carbon and can be used as brown materials.
- Wood Chips or Sawdust (in moderation): They add carbon and help with aeration.
- Teabags (remove staples): Used teabags decompose well.
- Manure (from herbivores): Cow, horse, or poultry manure provides nitrogen.
Worst Materials for Composting:
- Meat and Fish Scraps: These can attract pests and produce foul odors.
- Dairy Products: Like meat, they may lead to unpleasant smells and pests.
- Cooked Food: Leftovers or cooked grains can cause odor issues.
- Oils and Grease: Fats and oils can create a greasy, anaerobic environment.
- Pet Waste: Pet feces may contain pathogens harmful to humans.
- Diseased Plants: Avoid adding plants infected with diseases to prevent spreading.
- Weeds with Mature Seeds: Some weeds may survive the composting process and spread.
- Citrus Peels (in excess): These can be slow to break down due to their acidity.
- Onions and Garlic (in excess): They may deter earthworms.
- Glossy Paper: Shiny or colored paper may contain harmful chemicals.
Remember, successful composting depends on maintaining a balance between green (nitrogen-rich) and brown (carbon-rich) materials, adequate moisture, and regular turning or mixing to aerate the pile.
Step 4: Build Your Compost Pile
To build your compost pile, follow these steps:
- Start with a layer of twigs or straw at the bottom of your pile. This will help with drainage and aeration.
- Add a layer of brown organic material (leaves, shredded paper, etc.).
- Add a layer of green organic material (fruit and vegetable scraps, grass clippings, etc.).
- Repeat steps 2 and 3 until your pile is at least 3 feet high.
- Water your pile until it is moist, but not soggy.
Step 5: Maintain Your Compost Pile
To maintain your compost pile, follow these steps:
- Turn your pile every few weeks with a pitchfork or shovel to aerate it and speed up the decomposition process.
- Keep your pile moist by adding water as needed. If your pile is too dry, the decomposition process will slow down.
- Monitor the temperature of your pile. A healthy compost pile will generate heat as the organic material breaks down. If your pile is not generating heat, it may need more nitrogen-rich material or more moisture.
- Avoid adding weeds or diseased plant material to your compost pile, as this can spread weed seeds or plant diseases.
Step 6: Harvest Your Compost
Your compost should be ready to use in 3-6 months, depending on the materials used and how often the pile was turned. You’ll know your compost is ready when it is dark, crumbly, and has an earthy smell.
To harvest your compost, follow these steps:
- Stop adding new materials to the pile.
- Move the top layer of unfinished material to the side.
- Use a garden fork to remove the finished compost from the bottom of the pile.
- Use the unfinished material that was set aside to start a new compost pile.
Composting is an easy and rewarding way to reduce waste and improve the health of your garden. By following these simple steps, you can create your own nutrient-rich compost and improve the health of your plants.
Another way to improve your soil health is to add mushrooms in between your vegetables. By combining mushrooms and plants, you can speed up the breakdown of materials and make nutrients available more quickly.
If you are a doggo parent read more about 11 garden vegetables safe for dogs.
FAQs
Can I compost meat or dairy products?
No, it’s best to avoid adding meat or dairy products to your compost pile as they can attract pests and slow down the decomposition process.
How often should I turn my compost pile?
You should aim to turn your compost pile every 2-3 weeks to aerate it and speed up the decomposition process.
Can I compost pet waste?
No, it’s best to avoid adding pet waste to your compost pile as it can contain harmful bacteria and pathogens.
How do I know when my compost is ready to use?
Your compost should be ready to use when it is dark, crumbly, and has an earthy smell.
Can I use compost as a fertilizer?
Yes, compost is a great fertilizer for your garden as it adds nutrients to the soil and improves soil structure.
