Source: Freepik
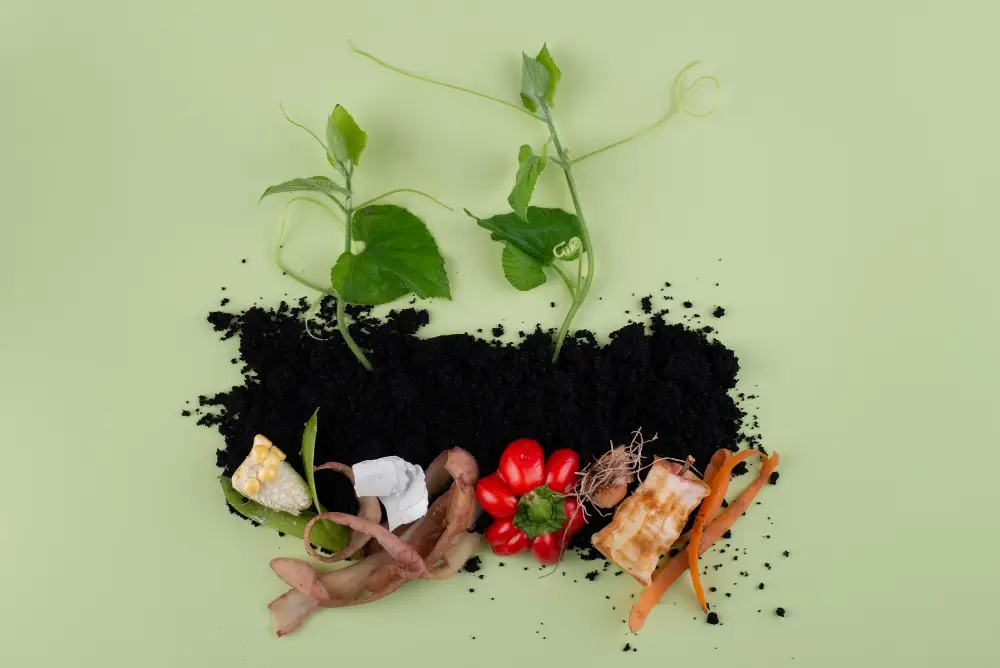
Are you interested in turning your kitchen scraps and yard waste into nutrient-rich compost for your garden? Vermicomposting, also known as worm composting, is an excellent and eco-friendly way to achieve that. In this guide, we will explore the basics of vermicomposting, its benefits, how to get started, and more. So let’s dig in and learn how to create a vermicompost superfood for your garden!
Table of Contents
What is Vermicomposting?
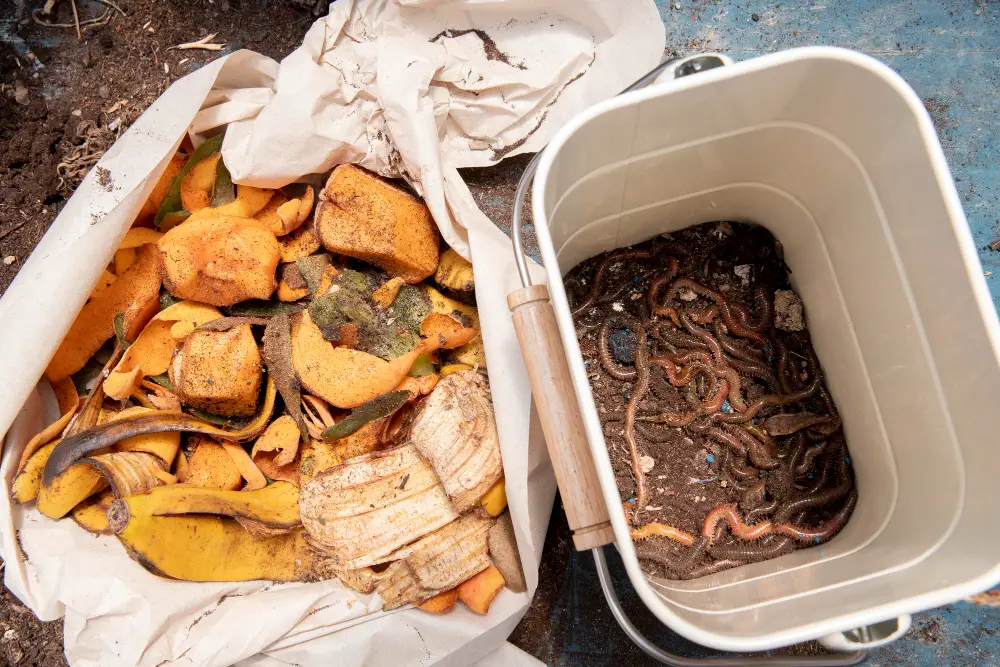
Vermicomposting, also known as worm composting, is a process that involves using worms to break down organic waste into compost. The worms used in this process are usually red wigglers or Eisenia fetida, which are small and can easily consume large quantities of organic waste. Vermicomposting is an excellent alternative to traditional composting methods, as it is much faster and requires less space.

Benefits of Vermicomposting
There are several benefits to vermicomposting, including:
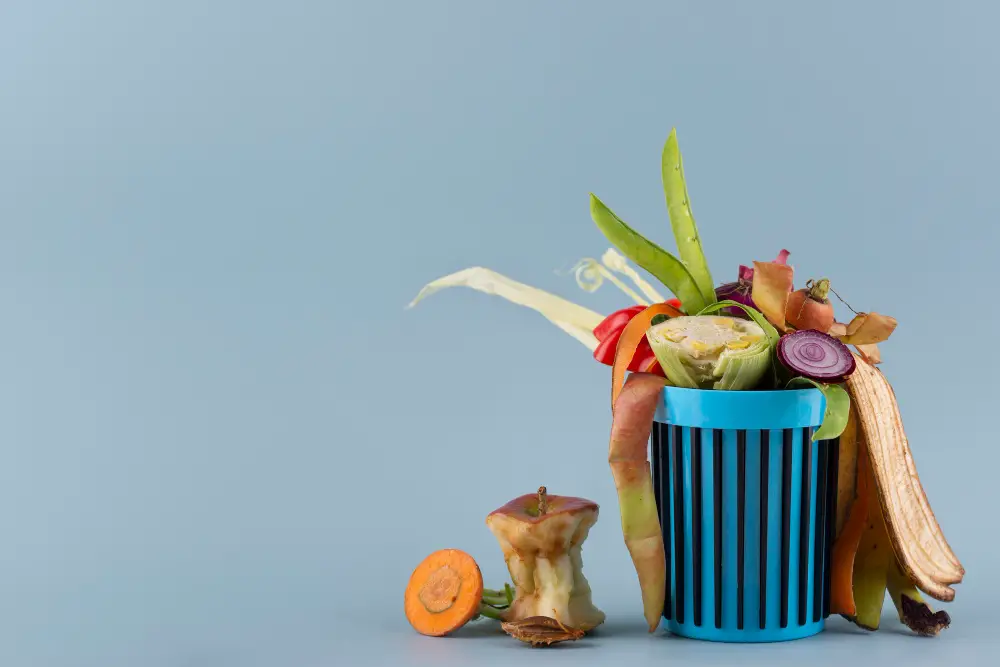
Reduced Waste
Vermicomposting is an excellent way to reduce waste. By composting organic materials, you are diverting waste from landfills, reducing greenhouse gas emissions, and creating a valuable soil amendment.
Improved Soil Health
The compost produced by vermicomposting is an excellent soil amendment. It is rich in nutrients and beneficial microorganisms, which can improve soil structure, water retention, and plant growth.
Cost-effective
Vermicomposting is a cost-effective way to create compost. It requires minimal equipment, and the worms used in the process can reproduce quickly, allowing you to expand your worm farm as needed.
Getting Started with Vermicomposting
Getting started with vermicomposting is relatively easy. Here are the steps you need to follow:
Source: Freepik
Step 1: Choose a Container
The first step in vermicomposting is to choose a container. You can use a variety of containers for vermicomposting, including plastic bins, wooden boxes, or even old bathtubs. Make sure the container you choose has a tight-fitting lid to keep the worms inside.
Step 2: Add Bedding
Once you have chosen your container, the next step is to add bedding. Bedding is the material that the worms live in and helps to absorb moisture and provide a habitat for the worms. Common bedding materials include shredded newspaper, cardboard, or coconut coir.
Step 3: Add Worms
Once you have added bedding, the next step is to add worms. You can purchase red wigglers from a local garden center or online. Make sure to add enough worms to ensure that the composting process is efficient.
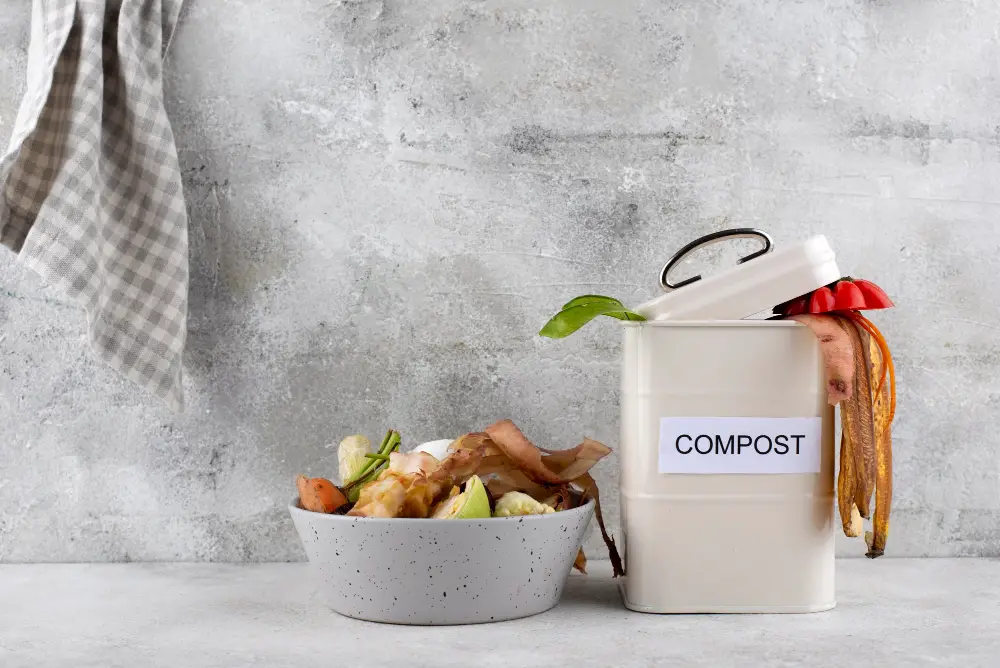
Step 4: Add Organic Waste
Once you have added worms, the next step is to start adding organic waste. You can compost a variety of organic materials, including fruit and vegetable scraps, coffee grounds, and eggshells. Avoid adding meat, dairy, or oily foods, as these can attract pests and create odors.
Step 5: Maintain the Worm Farm
To maintain your worm farm, you need to ensure that it stays moist and well-aerated. You can add water as needed to keep the bedding moist, and you can aerate the compost by stirring it with a garden fork or trowel. Avoid overfeeding your worms, as this can lead to odors and a slow composting process.
Maintain optimal conditions in the worm bin to ensure the worms’ well-being and efficient composting:
- Temperature: Keep the temperature between 55°F and 77°F (13°C and 25°C) for optimal worm activity [[7](https://learn.eartheasy.com/articles/worm-composting-basics-for-beginners/)].
- Moisture: Maintain a moist but not waterlogged environment. The bedding should feel like a damp sponge.
- pH Level: Aim for a slightly acidic to neutral pH level of 6.5 to 7.0.
Step 6: Harvesting Vermicast
After a few months, the worms will transform the organic waste into vermicompost. To harvest the vermicast, stop feeding the worms in one area of the bin and add fresh bedding and food on the opposite side. The worms will migrate to the new food source, allowing you to collect the mature compost from the side they abandoned. Sift the vermicast to separate any remaining worms and undecomposed material before using it in your garden.
Harvesting and Using Vermicast
When the worms have transformed the organic waste into rich vermicast, it’s time to harvest and use it in your garden.
- Scoop out the dark, crumbly vermicast from the side of the bin without worms.
- Store the vermicast in a covered container or use it immediately to enrich your garden soil, potting mixes, or as a top dressing for plants.
Types of Vermicomposting Containers
There are several types of vermicomposting containers you can use to create your worm farm. Here are a few options:
Source: Freepik
Plastic Bins
Plastic bins are an inexpensive and easy-to-find option for vermicomposting. You can purchase a large plastic bin with a tight-fitting lid and drill holes in the sides and bottom for ventilation. Line the bottom with a few layers of moist newspaper or cardboard, add bedding and worms, and start composting.
Wooden Boxes
If you prefer a more natural look, wooden boxes can be a great option for vermicomposting. You can build your own or purchase a pre-made wooden box designed for composting. Make sure to line the bottom with hardware cloth to prevent rodents from entering.
Worm Towers
Worm towers are tall, narrow containers that can be buried in the ground. They are an excellent option for gardeners with limited space, as they take up very little surface area. To create a worm tower, dig a hole in the ground, insert a perforated PVC pipe or a stack of bricks with holes drilled in them, and add bedding and worms.
Commercial Worm Bins
If you don’t want to build your own worm bin, you can purchase a pre-made commercial worm bin. These bins come in a variety of sizes and styles and often include features like spigots for collecting worm tea and trays for easy removal of compost.
Best Worms for Vermicomposting
While many types of earthworms exist, some are better suited for vermicomposting than others due to their specific characteristics. Here’s a breakdown of the best worm choices.
Source: Freepik
Top Contenders
- Red Wigglers (Eisenia fetida): The undisputed champion, beloved for their rapid reproduction, ability to handle a wide range of food scraps, and tolerance for different temperatures. They thrive in indoor environments and are readily available from most composting suppliers.
- Indian Blueworms (Perionyx excavatus): Another excellent option, known for their voracious appetite and ability to handle larger food scraps like leaves and cardboard. They adapt well to various temperatures and require less moisture than Red Wigglers, making them suitable for drier climates.
Other Options
- Tiger Worms (Eisenia hortensis): Larger than Red Wigglers, they excel at processing fibrous materials like leaves and straw. However, they require cooler temperatures and can be less active in warmer climates.
- African Nightcrawlers (Eudrilus eugeniae): While efficient and fast reproducers, they are larger and require more space than other options. Additionally, they thrive in warmer temperatures and may not be ideal for indoor setups.
Choosing the right worm
- Climate: Consider your local temperature range. Red Wigglers are generally best for indoor setups or warmer climates, while Indian Blueworms or Tiger Worms might suit cooler regions.
- Food scraps: If you plan to compost a lot of leaves or cardboard, Indian Blueworms or Tiger Worms might be better equipped.
- Availability: Red Wigglers are widely available, while others might require searching for specialized suppliers.
Beyond the main contenders
- Dendrobaena veneta: Often called “Tiger worms” in Europe, these perform similarly to Eisenia hortensis but may be more readily available in certain regions.
- Eisenia Andrei: These smaller worms are gaining popularity due to their high reproduction rate and tolerance for various food scraps. However, they might be more challenging to find.
How to Feed Your Worms
Here’s a breakdown of what you can and cannot feed your worms for successful vermicomposting:
Green Light (Great food for your worms)
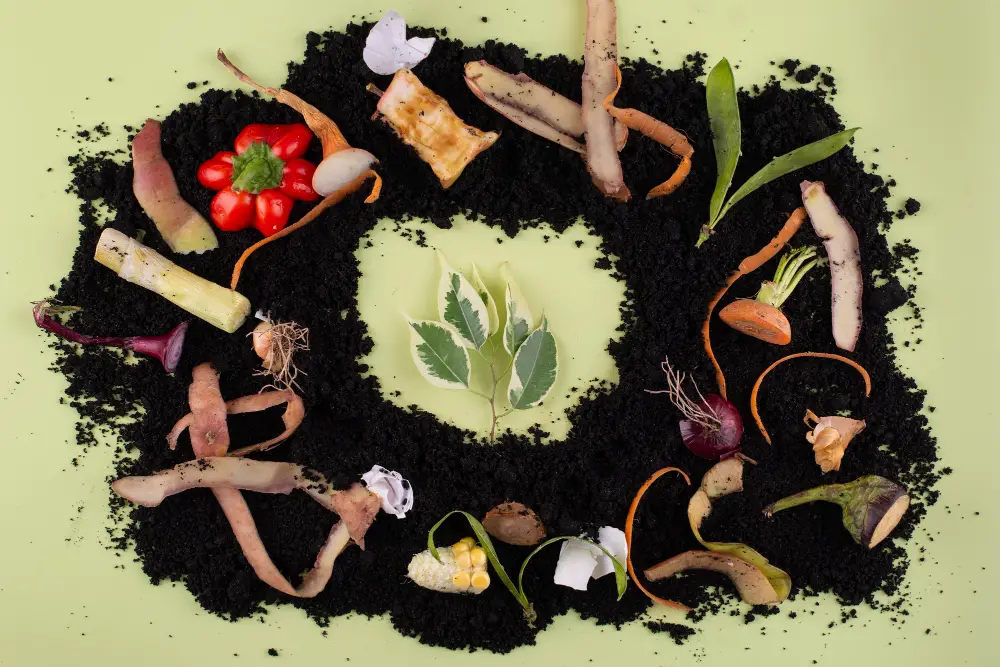
- Fruit and vegetable peels: Banana peels, melon rinds, apple cores, carrot tops, leafy greens (shredded if large).
- Coffee grounds and tea bags: Ensure they’re used and rinsed to remove excess caffeine.
- Eggshells: Crush them first to make them easier to digest.
- Bread and grains: Moistened bread, pasta, or cereal in moderation.
- Cardboard and paper: Shredded cardboard, newspaper, or brown paper bags.
- Yard waste: Fallen leaves, grass clippings (dried slightly), and chopped plant material.
Yellow Light (Use sparingly or with caution)
- Citrus peels: Limit them due to their acidity (consider composting them separately).
- Dairy products: Small amounts of cheese or yogurt are okay, but avoid milk and excessive amounts.
- Meat and fish scraps: These attract unwanted pests and can decompose anaerobically, creating unpleasant odors.
- Oily or greasy food: This can harm the worms and make the compost greasy.
- Spicy food: Capsaicin can be harmful to the worms.
Red Light (Avoid completely)
- Diseased plants: Can spread pathogens to your compost and potentially your garden.
- Weed seeds: May germinate in the compost and become a future problem.
- Metal, plastic, and glass: These contaminate the compost and harm the worms.
- Chemically treated materials: Avoid anything treated with pesticides or herbicides.
- Pet waste: Can harbor harmful bacteria and parasites.
Additional Tips
- Chop or shred larger food scraps: This helps the worms digest them faster.
- Avoid overfeeding: Too much food can create an oxygen-depleted environment harmful to the worms.
- Maintain a balanced mix of “green” (nitrogen-rich) and “brown” (carbon-rich) materials: This ensures proper decomposition and nutrient balance in the compost.
- Monitor moisture levels: The bedding should be damp but not soggy.
By understanding what your worms can and cannot eat, you can create a thriving vermicomposting system that transforms your food scraps into valuable compost for your plants!
Vermicomposting vs. Traditional Composting
Source: Freepik
Traditional composting involves the decomposition of organic matter without worms, and vermicomposting employs the help of specific types of worms to expedite the process. Here are some key differences between the two:
Nutrient Content
- Vermicompost: Generally richer in beneficial microorganisms, nitrogen, phosphorus, and potassium due to the worms’ digestive processes. This “worm castings” compost is considered a high-quality fertilizer with readily available nutrients for plant uptake.
- Traditional compost: Can vary in nutrient content depending on the materials used and the decomposition process. While still beneficial, it might have lower levels of readily available nutrients compared to vermicompost.
Physical Properties
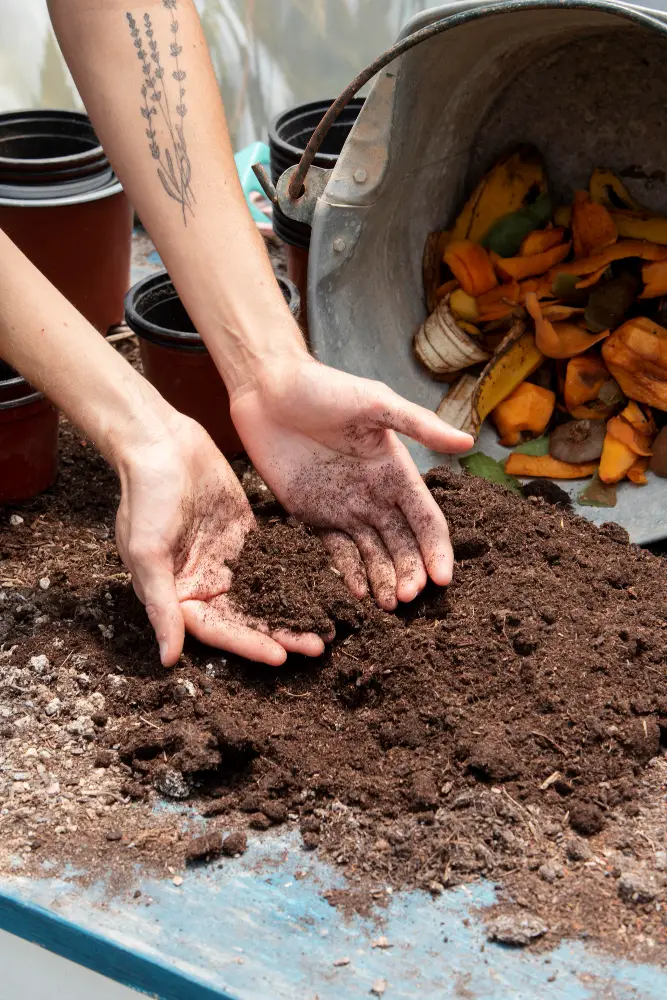
- Vermicompost: Finer, crumblier texture, easier to spread and handle due to worm activity. It also has a pleasant earthy smell and contains worm castings, further enhancing its soil-enriching properties.
- Traditional compost: Can be chunkier and require sifting for larger pieces. The texture and smell may vary depending on the composting method and materials used.
Overall Quality
- Vermicompost: Often considered higher quality due to its consistent nutrient content, finer texture, and beneficial microbial community. It is ideal for seed starting, potted plants, and direct soil application.
- Traditional compost: Can be of varying quality depending on the composting process and materials. It may require longer curing time to ensure complete decomposition and optimal nutrient availability.
Additional Differences
- Speed of decomposition: Vermicomposting generally occurs faster than traditional composting (weeks vs. months) due to the worms’ activity and smaller-sized organic matter.
- Space requirements: Vermicomposting can be done in smaller containers, making it suitable for indoor or limited space settings. Traditional composting typically requires larger bins or piles.
- Odor: Vermicomposting generally has less odor compared to traditional composting, making it more manageable in indoor settings.
Advanced Techniques
- Vermicomposting outdoors: You can set up worm bins outdoors in shaded areas with protection from extreme weather. Adapt your system for outdoor conditions and monitor temperature fluctuations.
- Continuous flow systems: These larger, multi-bin setups allow for continuous harvesting of matured compost while maintaining an active worm population. Consider it for larger-scale composting needs.
- Vermicomposting-specific materials: Explore composting-specific materials like coffee grounds, eggshells, or citrus peels in separate containers to manage their decomposition effectively.
Additional Benefits
- Vermicomposting tea: Brew a nutrient-rich liquid fertilizer by steeping worm castings in water. Dilute it and use it to foliar feed your plants.
- Vermiculture for education: Use your worm bin as a teaching tool for children and communities to learn about composting, worms, and soil health.

Choosing the Right Method
The best composting method for you depends on your needs and priorities. If you prioritize faster decomposition, high-quality compost, and minimal odor, vermicomposting might be ideal. If you have a larger space and focus on processing larger quantities of organic waste, traditional composting could be suitable. Both methods contribute to sustainable waste management and enrich your garden soil!
Limited Space
- Vermicomposting can be done in relatively small containers, making it ideal for apartments, balconies, or even indoors. You don’t need a large backyard or dedicated composting area.
Fast Decomposition
- Worms accelerate the composting process compared to traditional methods, turning food scraps into nutrient-rich compost within weeks instead of months. This is ideal if you want to see results quickly and use your compost sooner.
High-Quality Compost
- Worm castings produced through vermicomposting are renowned for their finer texture, richer nutrient content, and beneficial microbial community. This “black gold” is perfect for seed starting, potted plants, and enriching garden soil.
Minimal Odor
- Unlike traditional composting, vermicomposting generally produces minimal odor, making it suitable for indoor settings or areas with close proximity to living spaces.
Educational Activity
- Vermicomposting is a fun and engaging way to learn about composting, soil health, and the wonders of worms! It’s a great activity for families and kids to connect with nature and understand the importance of sustainable waste management.
However, it’s important to consider some potential drawbacks
- Initial Setup: Getting started might require purchasing a bin, bedding material, and worms.
- Ongoing Care: While low maintenance, regular monitoring, and adjustments to moisture, temperature, and feeding are needed for optimal results.
- Limited Scale: Vermicomposting is best suited for smaller amounts of food scraps. If you have a large household or generate a lot of organic waste, traditional composting might be more efficient.
In conclusion, vermicomposting is a fantastic option for individuals and households who:
- Live in apartments or have limited space for composting.
- Want fast decomposition and high-quality compost for their plants.
- Appreciate minimal odor and a sustainable waste management process.
- Enjoy learning and engaging in an educational activity connected to nature.
If you fit these descriptions or simply want to explore a fun and rewarding way to turn food scraps into valuable compost, give vermicomposting a try!
Troubleshooting and Common Problems
While vermicomposting is relatively low-maintenance, there are certain hiccups you might encounter along the way. Here are a few common problems and solutions:
Signs of Trouble
- Worms dying: This could indicate various issues like:
- Improper temperature: Ensure it’s within the 55-75°F (13-24°C) range. Too hot or too cold can be harmful.
- Moisture imbalance: Avoid soggy or bone-dry bedding. Aim for dampness like a wrung-out sponge.
- Lack of oxygen: Regularly aerate the compost with a fork or hand.
- Unsuitable food scraps: Avoid oily, meaty, or acidic scraps. Stick to recommended food items.
- Not enough worms: If their population seems stagnant, check for the above issues and consider adding more worms to your bin.
- Odors: This usually points to:
- Overfeeding: Reduce food scraps and ensure proper aeration.
- Moisture imbalance: Adjust moisture levels as needed.
- Lack of brown material: Add shredded cardboard, dry leaves, or other carbon-rich materials.
- Fruit flies: They’re attracted to moist environments and decaying food scraps. Reduce food scraps, ensure proper drainage, and cover the bin with mesh.
- Slow decomposition: This could be due to:
- Insufficient worms: Add more worms if their population seems low.
- Lack of aeration: Aerate the compost regularly.
- Too much moisture: Adjust moisture levels and improve drainage.
Troubleshooting Tips
- Monitor regularly: Check moisture, temperature, aeration, and worm activity frequently.
- Address issues promptly: Don’t let problems linger, as they can worsen.
- Research and adapt: Look up detailed information on specific issues and adjust your setup accordingly.
- Seek help: Consult experienced vermicomposters or local nurseries for expert advice.
Additional Resources
- Online forums and communities: Connect with other vermicomposters to share experiences and solutions.
- Vermicomposting websites and blogs: Find in-depth guides and troubleshooting tips from experts.
- Books and articles: Invest in reliable resources for comprehensive information and advanced techniques.
Remember, patience and observation are key. By actively monitoring your bin and taking necessary actions, you can address challenges and maintain a thriving vermicomposting system!
When not to use Vermicompost
While vermicompost is generally considered an excellent soil amendment for most plants, there are a few exceptions that may not tolerate it well. Here are some plants that you might want to avoid using vermicompost with:
Acid-loving plants: These plants, such as blueberries, azaleas, rhododendrons, and hydrangeas, thrive in acidic soil. Vermicompost is slightly alkaline, so it can raise the pH level of the soil and make it less suitable for these plants.
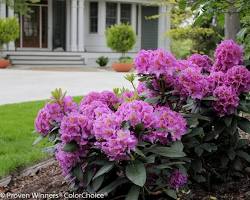
Rhododendron
Salt-sensitive plants: Vermicompost can sometimes contain trace amounts of salts, which can be harmful to salt-sensitive plants like ferns, spider plants, and peace lilies. If you’re concerned about salt levels, you can leach your vermicompost before using it by soaking it in water and then discarding the water.
Peace lily
Seedlings: Very young seedlings may be sensitive to the high nutrient content of vermicompost. It’s best to use a diluted mix of vermicompost or wait until the seedlings are more established before using it.
FAQs
Can I use any type of worms for vermicomposting?
It is recommended to use red wigglers (Eisenia fetida) or redworms for vermicomposting. They are the most efficient at composting and adapting to the vermicomposting environment
Can I compost any food scraps in my worm bin?
Not quite! While worms are like tiny garbage disposals, avoid meat, dairy, oily scraps, and citrus peels. These attract unwanted pests, create odors, and can harm your worms. Stick to vegetable and fruit scraps, eggshells (crushed), coffee grounds, and tea bags.
Where should I keep my worm bin?
Both indoors and outdoors are feasible! Indoors, choose a cool, dark location like under a sink or in a basement. Outdoors, find a shaded area protected from direct sunlight and extreme temperatures. Ensure good ventilation regardless of location.
How often do I need to feed my worms?
Worms are surprisingly flexible eaters. Feed them every 2-3 weeks, offering small amounts at a time to avoid overfeeding. Monitor their activity and adjust the amount as needed.
Will my bin smell bad?
Properly maintained, your vermicomposting bin should have minimal odor. Overfeeding, excessive moisture, or lack of aeration can create unpleasant smells. Ensure good ventilation, adjust moisture levels, and don’t overfeed to keep your bin fresh.
How long does it take to get compost from my worms?
Patience is key! Depending on the size of your bin and worm population, it can take 3-6 months to get usable compost. But don’t worry, even partially decomposed material holds valuable nutrients for your plants.